Cruelty Free Beauty
- 4 signs you have low iron levels
- Zero Waste Beauty: Adopt a green routine with these sustainable products
- This eco-friendly beauty box is packed with refillable multi-taskers
- “I find myself using it even when I don’t need to!”
- Arctic-inspired natural skincare brand launches in the UK
- Green People launches beauty balm packaged in 100% biodegradable pot
- Lush launches same-day delivery service for its iconic handmade cosmetics
- “This cruelty-free tanning water gave me the confidence boost I needed”
- rho launches sustainable loungewear that gives back
- Rose & Caramel Raises Awareness For Women’s Self-Esteem & Mental Health With ‘I TAN FOR ME’ Campaign
- Couple launches entirely plant-based and refillable deodorant on Kickstarter
- View all
Eco Living
- Simple Hacks to Cut Your Food Waste with Gino D’Acampo
- Five Easy Ways to Reduce Food Waste
- Eat these foods to boost your mood
- Upgrade Your Cheese Toastie
- Have a healthy Christmas with these festive food swaps
- Omega-3 Health Benefits
- 5 minutes with Max La Manna
- A nutritionist’s guide to eating for healthy joints
- Easy ways to achieve your health goals
- Discover the benefits of raisins on a vegetarian diet
- Improve your gut health with California Raisins
- View all
Vegan Recipes
- Quorn Vegan Hot & Spicy Burger with Pink Slaw
- Tomato and Pumpkin Soup
- Pea and elderflower cocktail
- Matcha Coconut Ice Cream
- Vegan Lemon Bars
- Mango Salad with Thai Dressing
- Garden Gimlet
- Tofu & Green Beans Teriyaki
- Cornflakes Bombay
- Rainbow Pickle
- Soba noodles with kale and collards
- View all
Popular recipes
- Spinach and ricotta quiche vegetarian recipe
- Cheats mushroom and spinach lasagne vegetarian recipe
- Lentil bolognese vegetarian recipe
- Creamy mushroom stroganoff vegetarian recipe
- Malaysian Rendang curry vegetarian recipe
- Feta, Butternut Squash, Caramelised Onion and Cashew Nut Wellingtons
News
- Caffe Nero launches plant-based menu options
- Lush launches same-day delivery service for its iconic handmade cosmetics
- EAT. has launched a vegan cheese toastie just in time for autumn
- Sainsbury’s Launches New Plant-Based Products
- Dobbies’ introduce brand new range of sustainable houseplants
- Iceland Launches New Vegan Range
- Tropic launches environmentally friendly sunscreen range
- NAILKIND Launches Natural Nail Colour Collection
- Lewis Hamilton Launches Plant-Based Burger Chain
- Five Easy Ways to Reduce Food Waste
- Plamil launches plastic-free chocolates that are perfect for sharing
- View all
MAKE YOUR OWN SOURDOUGH BREAD
Live Green & Good content creator Rachael Perrett rises up to the challenge of making gut-friendly sourdough
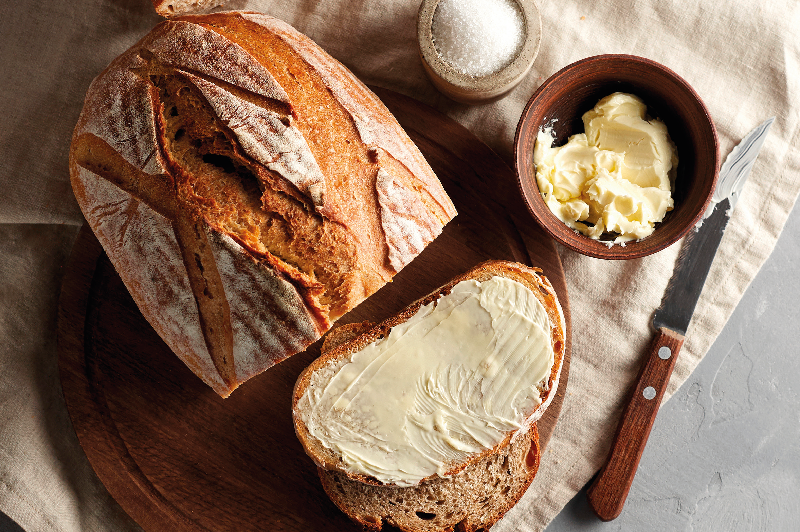
When my brother-in-law enjoyed a year-long work hiatus in Singapore, he began making his own sourdough, sending us drool-worthy photos of his progress and boasting about its gluten-free credentials. When I was finally able to taste his creations, I knew my gluten-free journey had turned a corner. What I know now is that many store-bought breads are processed, making them difficult for our bodies to digest, particularly if we have a gluten intolerance. Sourdough, on the other hand, is made with wild yeast and is fermented, increasing its beneficial bacteria. This fermentation also breaks down the gluten-forming proteins that many people with intolerances need to avoid.
Knowing I was eager to make my own sourdough, my brother-in-law sent me away with half of his ‘ripe’ starter (more on this later) with strict instructions for feeding it (‘With what, a spoon?’ I wondered), and gave me a few key tips, including to be patient! I should have heeded his warning but I’m a Taurus after all (read stubborn). I’m an instant-gratification type, and sourdough is certainly not one of those chuck-all-the-ingredients-in-a-bread-maker types; this requires real commitment!
Despite being given lots of tips, the stubborn side of me insisted on doing things my own way, conducting my own research before setting out to make my first loaf. On the first round, I was a bit of an eager beaver, jumping straight into things, and cutting corners to speed up the process. Needless to say, I learned my lesson pretty quickly! Sourdough and speed, is not a recipe for a good loaf. Luckily, the second round was more successful. The process was actually quite simple, it just required several time-consuming stages.
I started with, well, the starter obviously, which is essentially a culture of flour and water that creates a wild yeast. It encourages the growth of healthy bacteria, which ferment the sugars in the dough and give the bread its sour flavour. By taking my brother-in-law’s fully developed starter, I was already part-way there (thanks buddy). I kept it in a glass jar and ‘fed’ it with flour and water to keep it active – no spoon required. I used a rubber band on the jar to monitor how much it grew and used it when it was at its most active (nice and bubbly).
The various stages then include making a ‘slurry; a simple mixture of flour and water with the addition of the starter. After this, there were several steps that I’ve now learned are pretty essential in the sourdough-making process: there was a lot of mixing, kneading, and leaving things to double in size. Waiting for the loaf to cool was the biggest test of my patience, as needless to say after all those hours of feeding, knocking and kneading, I was eager to just dig in! I whipped up a bowl of soup while waiting, then enjoyed every single bite.
From now on, it’s homemade sourdough all the way for me, and it’s something my body is grateful for. Today, I continue to feed my starter so it can keep growing. Best of all, I can now spread envy among family and friends with photos of my own brilliant loaves.
JOIN THE REAL BREAD REVOLUTION!
Eager to encourage people to buy real bread from their local baker, and to make their own at home, the Real Bread Week campaign is the perfect opportunity to learn how to make it – find recipes and join the campaign
More from Vegetarian blog
_825_589_int.JPG)
The TV chef joins forces with a charity to get us buying loose fruit and veg to reduce waste
Tried and tested by the Veggie team
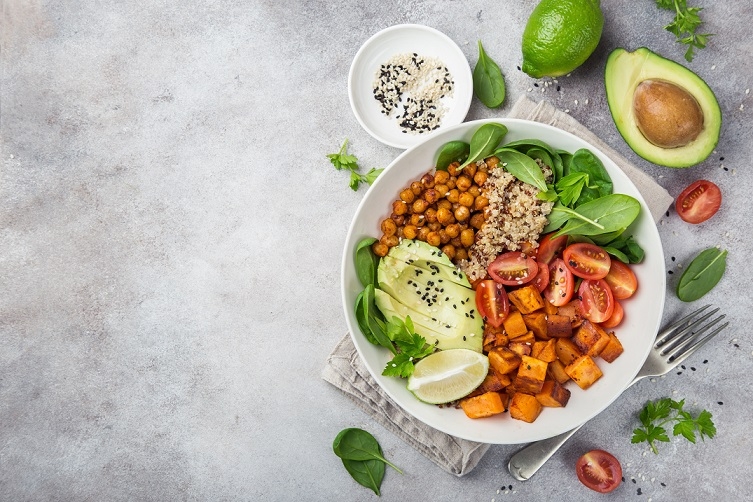
4 ingredients that will lift your spirits
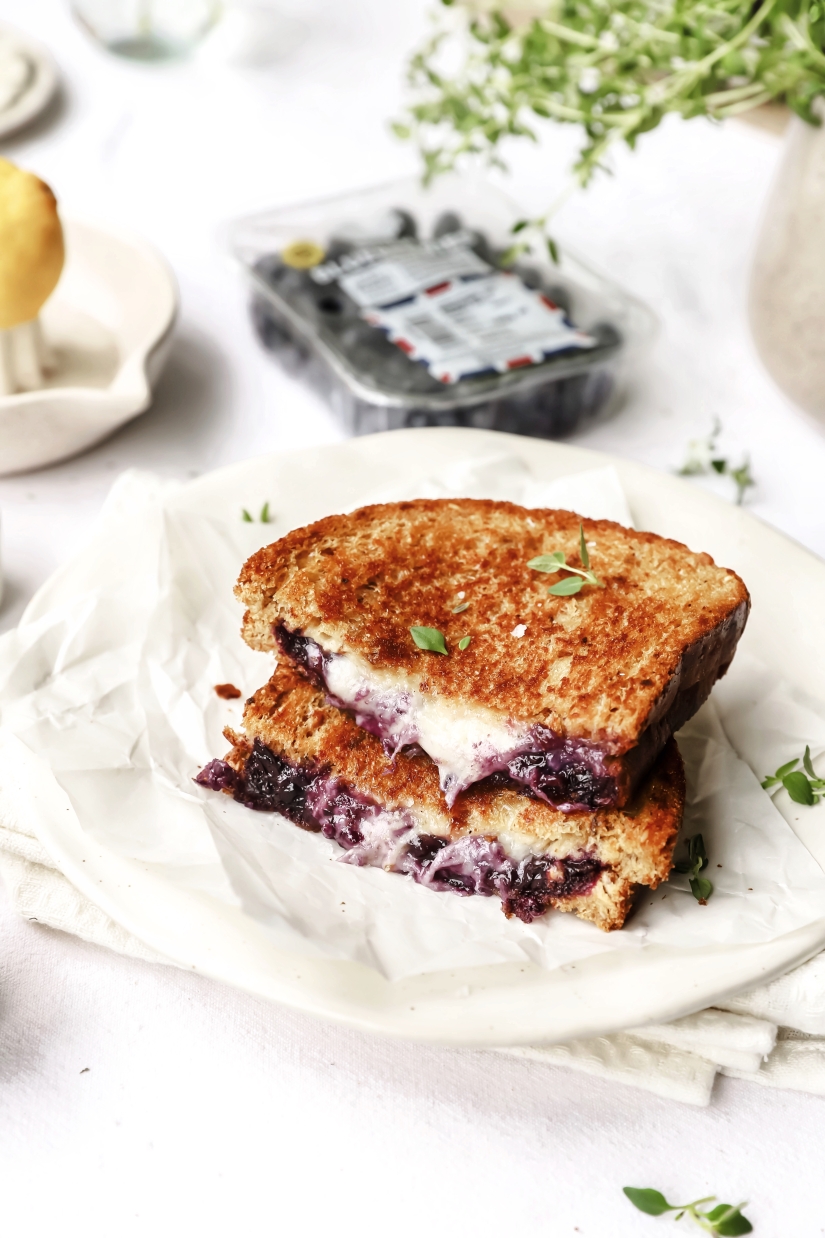
Fans of brie and cranberry look out, blueberry and cheese is the new toastie trend we're loving.

Simple swaps to help you stay on track


